

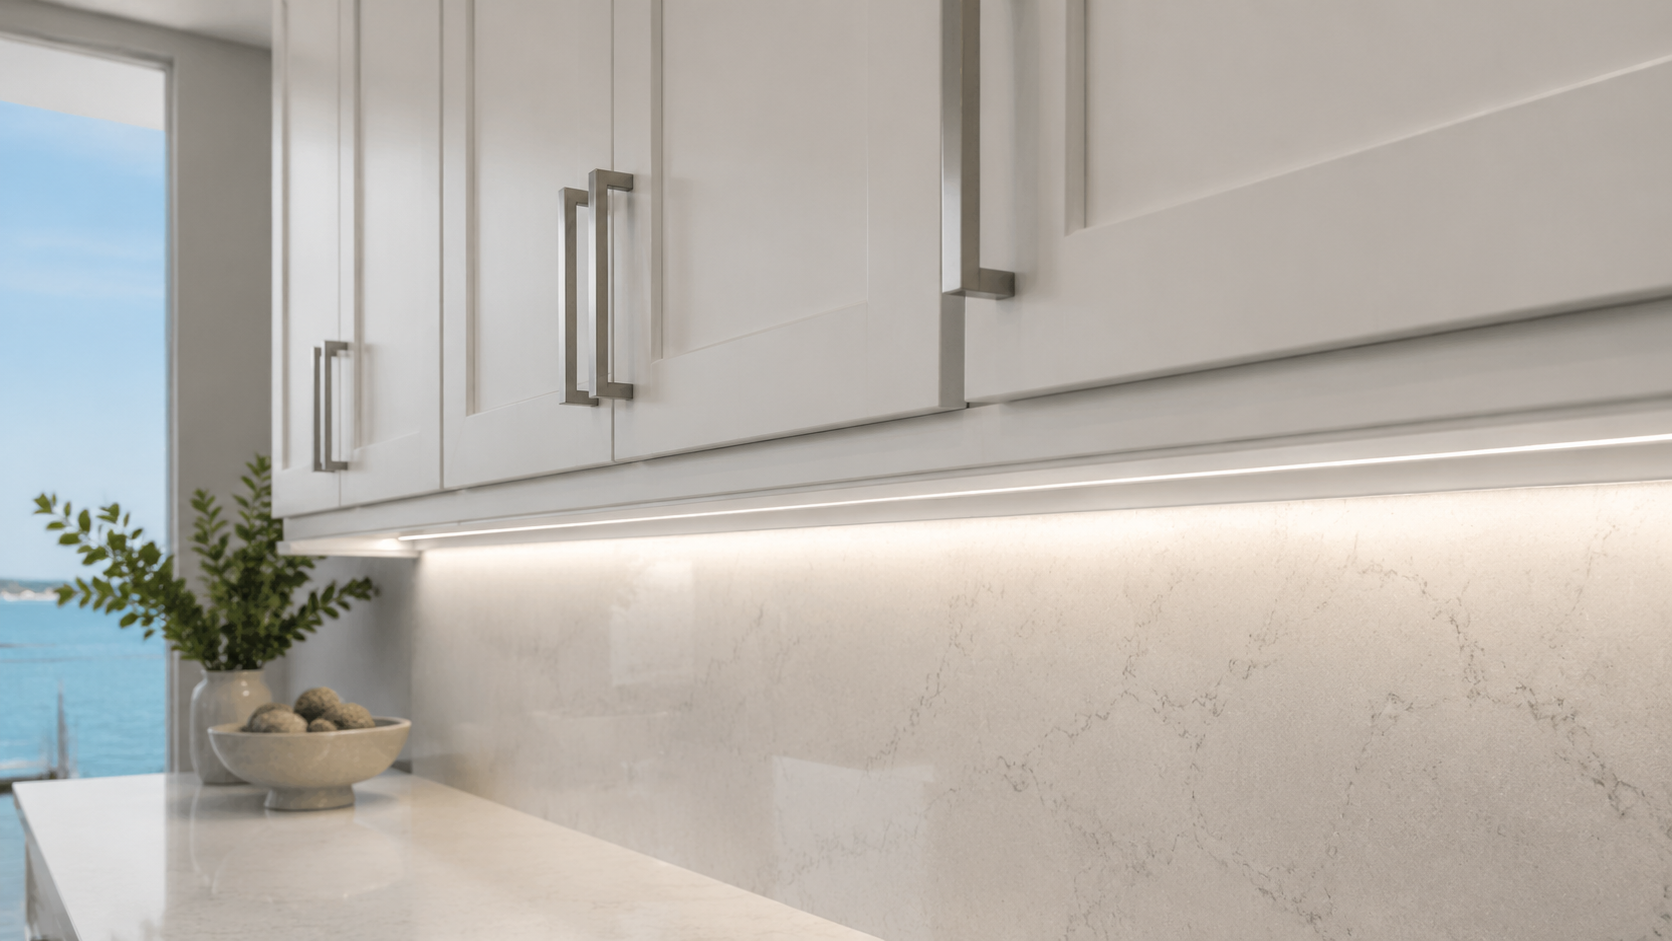
Finish the underside of wall cabinetry
Light-Rail Moulding for Shaker Cabinets
Plan light-rail profile, projection, finished returns, appliance clearances, and concealed LED lighting so the lower edge of Shaker wall cabinetry looks intentional from every angle.
Small trim with a visible architectural job
What Light-Rail Moulding Actually Does
Light rail is trim installed along the lower edge of wall cabinets. Its primary job is to conceal under-cabinet lighting, wiring, cabinet-bottom joints, and the direct view of LED channels while giving the elevation a finished lower boundary.
On Shaker cabinetry, the profile should support the clean door geometry rather than compete with it. Projection, height, door clearance, end conditions, and lighting location must be resolved before the cabinets are ordered or installed.
A Successful Light Rail Resolves
- LED channel and wiring concealed from normal sight lines
- Cabinet doors opening without trim interference
- Consistent reveal beneath the full-overlay door fronts
- Clean returns at exposed sides and cabinet ends
- Correct breaks at hoods, windows, tall cabinets, and appliances
- Serviceable lighting components and accessible drivers
Choose the profile for the cabinet style
Light-Rail Profiles for Shaker Cabinetry
The best profile depends on the door rail width, cabinet finish, room architecture, lighting hardware, and desired shadow line. Regular Shaker fronts generally benefit from controlled, simple trim rather than ornate stacked moulding.
Simple Square Rail
A restrained rectangular profile creates a clean lower edge and works with transitional or modern Shaker cabinetry.
Stepped Light Rail
A shallow step adds definition without turning the cabinet underside into heavy traditional trim.
Minimal Applied Fascia
A slim fascia can conceal a low-profile LED channel while maintaining a crisp contemporary shadow line.
The door and rail must clear one another
Full-Overlay Door Clearance and Proportion
Full-overlay Shaker doors cover most of the cabinet face frame or box edge. Light rail must be positioned behind the door plane with enough vertical and horizontal clearance for hinges, door swing, adjacent panels, and any bottom-edge detailing.
An oversized rail can make wall cabinets feel heavy and reduce usable backsplash space. A rail that is too shallow may leave the light source visible. The correct dimension is the smallest profile that performs the concealment job cleanly.
Proportion Checks
- Rail height coordinated with the Shaker door profile
- Trim remains behind the closed door plane
- Door swing and hinge adjustment stay unobstructed
- Lighting channel fits fully behind the sight-blocking edge
- Backsplash and countertop clearances remain balanced
- End returns align with finished cabinet sides
Conceal the source, preserve the task light
LED Placement Behind the Light Rail
Forward Placement
Locating the LED channel nearer the front of the wall cabinet spreads light across the counter and reduces a bright strip against the backsplash.
Diffused Illumination
An aluminum channel with a diffuser softens diode points, manages heat, and creates an even line of usable task lighting.
Driver and Service Access
Drivers, connectors, switches, and wiring paths should remain accessible without removing permanent cabinetry or damaging finished trim.
The ends reveal the quality of the installation
Returns, Corners and Cabinet Transitions
Light rail may return into a finished end panel, stop at a tall cabinet, terminate beside a hood, or turn through an inside corner. Each condition needs a deliberate cut, finished edge, and alignment with the visible cabinet side.
Exposed Cabinet Ends
Finished returns should conceal raw trim ends and align naturally with the cabinet side or applied finished panel.
Hoods and Tall Cabinets
Breaks in wall-cabinet runs should preserve appliance clearances and avoid tiny leftover moulding pieces.
Inside Corners
Mitered or fitted joints should maintain a continuous sight line while accounting for cabinet depth changes and imperfect walls.
Coordinate all four edges of the elevation
Light Rail, Crown, Fillers and Toe Kicks
Light rail finishes the underside of wall cabinetry. Crown or fascia resolves the ceiling edge, fillers handle wall and appliance clearances, finished ends complete exposed sides, and toe kicks establish the base-cabinet floor line.
These parts should share a consistent material, finish, projection strategy, and termination logic. Planning them as one elevation prevents isolated trim decisions that look added after installation.
Resolve trim before installation
Light-Rail Planning Process
Confirm the Cabinet Line
Identify door overlay, bottom construction, available mouldings, finished panels, cabinet depths, and manufacturer tolerances.
Select the Lighting
Confirm LED channel dimensions, diffuser, color temperature, switching, driver locations, wiring paths, and service access.
Map Every Transition
Resolve exposed ends, corners, windows, hoods, tall cabinets, depth changes, appliance clearances, and trim returns.
Review the Elevation
Verify rail proportion, door clearance, light concealment, backsplash space, seams, finish, and installation sequence.
See How MDI Uses 3D Cabinet Design or plan custom kitchen cabinetry.
Light-rail moulding questions
Light-Rail Moulding for Shaker Cabinets FAQs
What is light-rail moulding on kitchen cabinets?
Light rail is trim installed beneath wall cabinets to conceal under-cabinet lighting, wiring, cabinet-bottom joints, and the direct view of LED channels while creating a finished lower edge.
Does light rail interfere with full-overlay cabinet doors?
It should not when properly sized and positioned. The rail must remain behind the door plane and allow adequate clearance for hinges, door swing, adjustment, and adjacent panels.
How tall should cabinet light rail be?
The correct height depends on the LED channel, viewing angle, door profile, cabinet construction, and desired appearance. It should be only large enough to conceal the lighting cleanly without making the cabinet feel heavy.
Should light rail match Shaker cabinets?
Matching the cabinet finish usually creates the most integrated result. The profile should also complement the Shaker door geometry, with simple square or shallow stepped forms generally working better than ornate trim.
Can MDI plan light rail and under-cabinet LEDs in 3D?
Yes. MDI can coordinate wall-cabinet elevations, light-rail proportion, finished returns, door clearance, LED channels, appliance transitions, crown, fillers, and toe kicks during cabinet design.
Finish the wall cabinets intentionally
Plan Light Rail With the Cabinet Elevation
Share the cabinet layout, door style, appliance specifications, lighting system, exposed ends, and design direction. MDI will help define the moulding and next design step.