

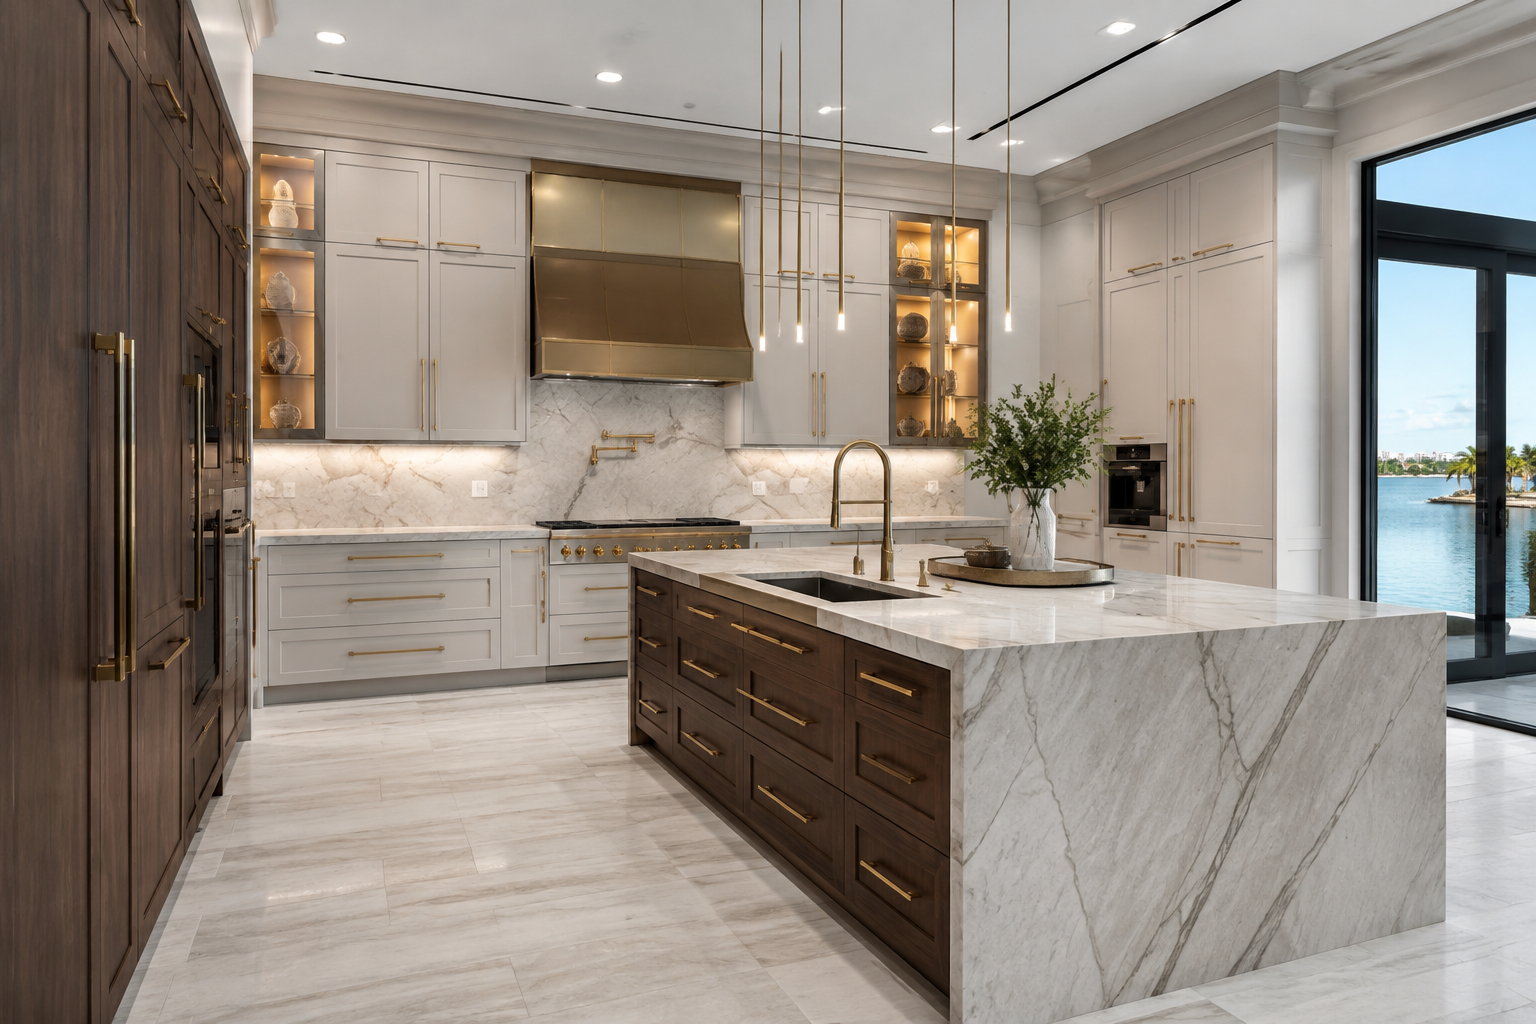
Cabinetry Guides & Expert Resources
Better Information.
Better Cabinet Decisions.
Practical guidance on cabinet construction, door styles, layouts, ordering, installation realities, custom design, and the details that determine how a finished kitchen performs.
Experience-Based Cabinetry Education
Answers Grounded in How Cabinets Are Actually Built and Installed.
Cabinet decisions affect far more than color. Box construction, door profiles, overlays, fillers, panels, hardware, appliance clearances, room conditions, freight, assembly, and installation all influence the final result.
MDI's resource center helps homeowners compare options, understand specifications, prepare better layouts, and approach online cabinet ordering with fewer surprises.
Start With These Guides
Featured Cabinetry Resources.
These articles answer the questions customers most often face before selecting a collection, approving a layout, or placing an order.
Slim Shaker vs. Traditional Shaker
Compare rail widths, visual weight, design character, and the rooms where each shaker profile works best.
Read the Comparison → Technical SpecificationsHow Maui Cabinets Are Built
Review door construction, plywood cabinet boxes, full-overlay design, dovetail drawers, and undermount hardware.
Review Construction → Design DetailsWhy Some Kitchens Look Custom
Learn how proportions, fillers, panels, moldings, alignment, and transitions separate a designed kitchen from installed boxes.
See What Makes the Difference → Collection GuideChoose the Right Cabinet Collection
Compare style, construction, finish direction, flexibility, project needs, and the best route for your home.
Compare Collections → Online OrderingHow to Buy Cabinets Online
Understand measurements, design support, order review, freight delivery, assembly, and planning before purchase.
Read the Buying Guide → RTA CabinetsAre RTA Cabinets Worth It?
Evaluate quality, construction, value, shipping, assembly, installation, and when RTA cabinetry makes sense.
Explore the Answer →Ready to Move From Research to a Project?
Choose Your Next Step.
Shop Cabinet Collections
Compare Catalina, Slim Shaker, Maui, Simple Shaker, and Escada door styles and finishes.
Explore Collections →Get Layout & Design Help
Turn measurements and ideas into a coordinated cabinet plan before ordering.
Explore 3D Design →Discuss a Custom Project
Plan custom kitchens, closets, vanities, built-ins, and qualifying Florida cabinetry projects.
Contact MDI →Complete Evergreen Article Directory
Browse All 80 Cabinetry Articles.
Every current MDI cabinetry article is linked below so visitors and search engines can reach the complete resource library without depending on pagination or search.
Open the Complete Article Directory
Latest Cabinetry Articles
Continue Into the Full MDI Resource Library.
The live Squarespace blog feed begins directly below this section, with the newest articles first.
↓Find the Cabinetry Answer You Need.
Search all 81 MDI articles or browse by topic. These guides cover cabinet construction, online ordering, custom design, installation, closets, vanities, local projects and the details that shape a successful result.
Featured Guides & New Releases
9 featured articlesBuying Cabinets & RTA Guides
Online ordering and product selectionCabinet Doors, Materials & Construction
Profiles, hardware and technical detailsKitchen Design & Inspiration
Layouts, finishes and architectural ideasCustom Closets & Storage
Organization and built-in storageBathroom Vanities
Vanity design and bathroom storageLocal & Custom Cabinetry
Pinellas County projects and investment guidesProject Planning & Industry Knowledge
Costs, responsibilities and planning realitiesTry a broader term such as “cabinets,” “doors,” “closets,” “installation” or “RTA.”
Ready to Move from Research to a Cabinet Plan?
Send MDI your measurements, appliance information and project goals. Our design team can help you compare collections, review the layout and determine the right cabinetry path.
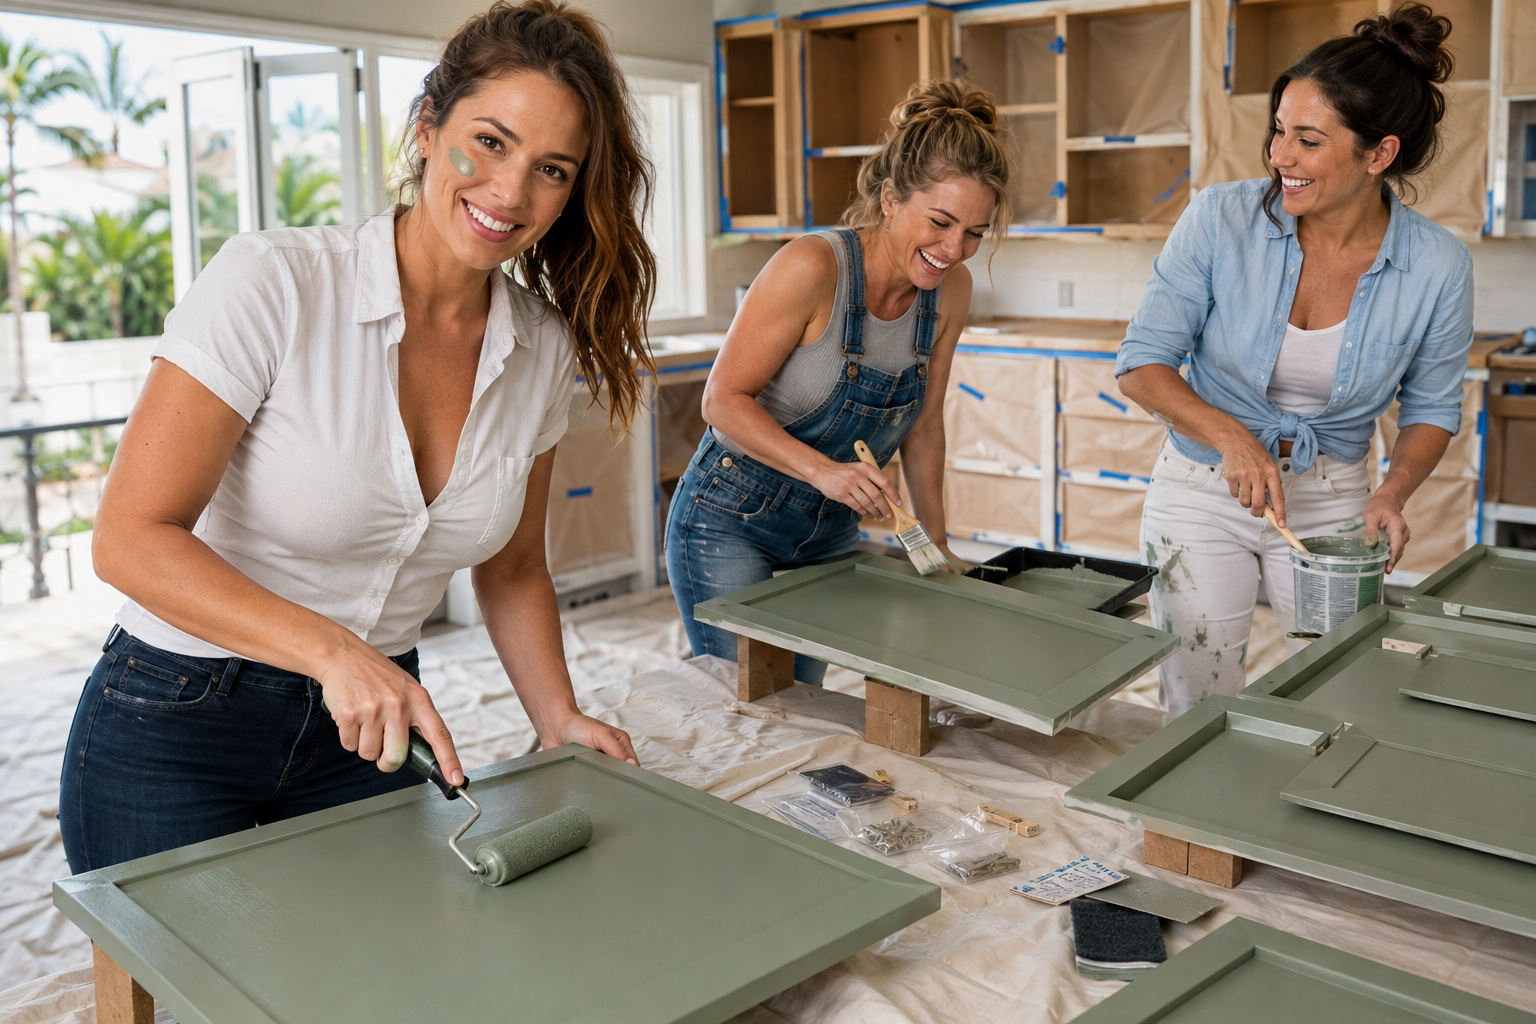
Martha Stewart On Painting Cabinets (Step-by-Step)
Painting kitchen cabinets can dramatically change a room without replacing every cabinet box, but the finished result depends far more on preparation than enthusiasm. This step-by-step guide expands on cabinet-painting advice published by Martha Stewart and explains how to clean, label, sand, prime, paint, cure, and reinstall cabinet doors without turning a weekend refresh into a peeling mess.

Painting kitchen cabinets can dramatically change a room without replacing every cabinet box, but the finished result depends far more on preparation than enthusiasm. This step-by-step guide expands on cabinet-painting advice published by Martha Stewart and explains how to clean, label, sand, prime, paint, cure, and reinstall cabinet doors without turning a weekend refresh into a peeling mess.
Can Kitchen Cabinets Be Painted Successfully?
Yes—when the existing cabinet boxes and doors are structurally sound, the surface accepts the selected coating, and enough time is allowed for preparation and curing.
Painting changes the color and surface appearance. It does not correct poor cabinet construction, damaged boxes, failing drawer hardware, an ineffective layout, or doors that are already separating.
The Martha Stewart Cabinet-Painting Approach
Martha Stewart’s published guide to painting kitchen cabinets emphasizes the same fundamentals professional painters rely on: identify the cabinet material, remove doors and hardware, clean away kitchen residue, protect surrounding surfaces, create proper adhesion, prime when required, apply thin coats, and allow the finish to dry before reassembly.
You can read the original Martha Stewart cabinet-painting guide. The process below adds cabinet-construction and replacement considerations from MDI Luxury Cabinetry.
Before Painting: Decide Whether the Cabinets Are Worth Saving
Paint is worthwhile when the existing cabinets function correctly and the main problem is an outdated color or worn finish.
- Cabinet boxes are securely attached and remain square.
- Shelves and cabinet bottoms are not swollen or sagging.
- Door joints remain tight and stable.
- Drawer boxes operate correctly and are not separating.
- The kitchen layout still works for the household.
- The existing surface can accept the proposed coating system.
Know What Your Cabinets Are Made From
| Cabinet surface | Can it be painted? | Important preparation |
|---|---|---|
| Painted wood | Usually, if the existing finish is stable. | Degrease, repair defects, dull the surface, test adhesion, and use a compatible primer and topcoat. |
| Stained wood | Usually. | Clean thoroughly, sand or degloss, seal stains or tannins when necessary, and prime before painting. |
| MDF or HDF | Often, if dry and undamaged. | Avoid saturating exposed edges. Repair carefully and use a primer compatible with engineered fiber products. |
| Wood veneer | Often, if firmly bonded. | Sand lightly so the thin veneer is not damaged, then test the primer for adhesion. |
| Laminate or melamine | Sometimes. | Use a coating system specifically rated for the surface and perform an adhesion test before completing the kitchen. |
| Thermofoil | Problematic when the film is peeling or shrinking. | Paint should not be used to hide loose thermofoil. Replacement doors or new cabinetry may provide a more reliable result. |
Cabinet-Painting Supplies
- Cabinet-safe cleaner or degreaser
- Clean microfiber cloths
- Screwdriver or drill with controlled torque
- Numbered labels and small hardware bags
- Drop cloths or builder’s paper
- Painter’s tape and masking material
- Appropriate sandpaper or sanding pads
- Vacuum with fine-dust filtration
- Compatible bonding or stain-blocking primer
- Cabinet, door, or trim enamel
- Quality angled brush
- Fine-finish mini roller and clean trays
- Raised drying supports or door racks
- Appropriate ventilation and protective equipment
How to Paint Kitchen Cabinets Step by Step
Choose the Color and Finish
Compare the proposed cabinet color with the countertops, backsplash, flooring, wall color, appliance finishes, hardware, and natural light. Test a real painted sample vertically in the kitchen rather than making the decision from a small paper chip.
Satin and semi-gloss finishes are common cabinet choices because they provide better cleaning and wear resistance than typical wall paint while avoiding an excessively glossy appearance.
Photograph and Label Everything
Photograph the kitchen before removing anything. Assign every door and drawer front a number corresponding to its cabinet opening.
Place hinges, screws, pulls, and related hardware in labeled bags. Do not assume similar-looking doors or hinges can be moved freely. Small differences in hinge adjustment and opening size can complicate reinstallation.
Remove Doors, Drawer Fronts, and Hardware
Remove doors and drawer fronts rather than trying to paint them while attached. Remove hinges, pulls, knobs, bumpers, and other hardware from the painted components.
Painting around hinges and handles creates ridges, trapped paint, poor edge coverage, and mechanical problems. Set doors flat on raised supports or use a purpose-built drying rack.
Protect the Kitchen
Cover countertops, floors, appliances, sinks, and adjoining surfaces with properly secured protection. Mask the cabinet interiors when they are not being painted.
Control dust and provide ventilation appropriate for the cleaners, primers, and coatings being used.
Degrease Every Paintable Surface
Kitchen cabinets collect airborne cooking oil, food residue, hand oils, cleaning products, waxes, and silicone. Areas around the range, sink, waste cabinet, and frequently used handles typically need the most attention.
Clean before sanding. Sanding a greasy surface can spread contamination and force residue deeper into scratches. Rinse or neutralize the cleaner as directed and allow every component to dry completely.
Repair and Create Adhesion
Fill unwanted hardware holes, dents, and minor surface defects with a filler compatible with the substrate and coating system. Sand the repairs level after curing.
Dull glossy surfaces using the preparation method recommended by the primer manufacturer. The objective is normally to create uniform adhesion—not grind every door down to bare material.
Vacuum carefully and remove residual dust with a clean microfiber cloth.
Test and Apply Primer
Apply the selected primer to an inconspicuous prepared area and allow it to dry for the manufacturer’s required period. Test adhesion before committing to the entire kitchen.
Use a bonding primer for difficult surfaces and a stain-blocking system when existing stains, wood tannins, or discoloration could bleed through the new finish.
Apply thin, even coats and avoid heavy buildup in inside corners and around panel profiles.
Sand the Primer Smooth
After the primer has dried as directed, lightly sand drips, raised grain, dust particles, and rough transitions with fine sandpaper. Do not sand through the primer unnecessarily.
Vacuum and wipe the surface clean again before applying the finish coat.
Apply the First Finish Coat
Use a quality angled brush for corners, profiles, and detailed areas. Apply the coating to larger flat areas with a fine-finish mini roller while the brushed sections remain workable.
Maintain a wet edge and apply thin, consistent coats. Heavy paint can collect in corners, soften door details, sag on vertical surfaces, and require substantially longer curing.
Allow the Correct Recoat Time
Follow the product’s technical instructions instead of assuming every cabinet paint can be recoated the same day. Temperature, humidity, airflow, coating thickness, primer selection, and surface material all affect drying.
Applying another coat too early can trap moisture, extend curing, reduce hardness, and create marks or adhesion problems.
Apply the Second Coat
Inspect the first coat under strong side lighting. Lightly correct dust particles, small ridges, or surface defects only when the coating manufacturer permits sanding between coats.
Clean the surface and apply another thin, even finish coat using the same brush-and-roller sequence.
Let the Finish Cure
Dry-to-touch is not the same as cured. A cabinet coating may feel dry while remaining soft enough to imprint, stick, scratch, or chip during installation.
Follow the coating manufacturer’s cure and reassembly instructions. Use extra care during the first several weeks because some cabinet coatings continue gaining hardness for approximately 30 days.
Reinstall and Adjust
Reinstall each labeled door and drawer front in its original position. Replace bumpers and reinstall clean hardware only after the coating is ready for handling.
Adjust hinges for consistent door alignment and reveals. Avoid overtightening handles against a finish that has not achieved sufficient hardness.
Common Cabinet-Painting Mistakes
- Painting doors while they remain attached
- Leaving hinges or pulls on the doors
- Sanding before removing grease
- Skipping the adhesion test
- Using ordinary wall paint on high-contact surfaces
- Applying thick coats to finish faster
- Ignoring recoat times
- Reinstalling before the finish has hardened
- Painting over peeling thermofoil
- Expecting paint to repair damaged cabinet boxes
How Long Does Cabinet Paint Take to Cure?
Cure time depends on the selected product. Some coatings can be handled or recoated within hours, but that does not mean they are ready for normal kitchen use.
Benjamin Moore advises that painted cabinets may be dry to the touch within several hours but can require approximately 30 days to reach full cure. Sherwin-Williams similarly instructs users to follow product-specific drying and recoat periods before reinstalling doors and hardware.
During early curing:
- Close doors and drawers gently.
- Avoid aggressive cleaning.
- Do not hang damp towels over doors.
- Clean spills by lightly dabbing instead of scrubbing.
- Avoid striking the finish with rings, tools, or cookware.
- Do not tighten hardware enough to crush soft paint.
When Painting Is Better Than Replacing
Painting can make sense when:
- The cabinet construction remains solid.
- The doors and drawers operate correctly.
- The existing layout works well.
- The customer likes the existing door style.
- The primary goal is a color change.
- The substrate accepts a durable coating system.
When New Cabinets Are the Better Investment
Replacement deserves serious consideration when:
- Cabinet boxes are swollen, damaged, or separating.
- Thermofoil is peeling from multiple doors.
- Drawer boxes or slides are failing.
- Storage and appliance clearances are poor.
- The kitchen layout needs to change.
- The homeowner wants taller cabinets or ceiling-height storage.
- The cost of professional refinishing approaches the value of new cabinetry.
Before investing substantial labor in old cabinets, compare the painting proposal with the construction, storage, and finish options available through MDI’s Cabinet Collections and Order Cabinets Online pages.
Frequently Asked Questions
Can you paint kitchen cabinets without sanding?
Some bonding primers may permit application to properly cleaned paintable surfaces without traditional sanding, but the surface must still meet the product’s preparation requirements. Always perform an adhesion test before painting the entire kitchen.
Should cabinet doors be removed before painting?
Yes. Removing and labeling the doors and drawer fronts provides better edge coverage, prevents paint buildup around hinges, and makes it easier to achieve an even finish.
Should cabinet hardware be removed before painting?
Yes. Hinges, pulls, knobs, bumpers, and related hardware should be removed and labeled. Painting around hardware can create ridges, sticking, poor coverage, and mechanical problems.
What type of paint is best for kitchen cabinets?
Use a durable coating specifically recommended for cabinets, doors, or trim and compatible with the selected primer and cabinet substrate. Satin and semi-gloss finishes are commonly used for their durability and cleanability.
Can laminate cabinets be painted?
Some laminate and melamine surfaces can be painted using a compatible bonding system. Clean the surface thoroughly and test primer adhesion before proceeding.
Can peeling thermofoil cabinets be painted?
Painting over loose or shrinking thermofoil is unlikely to create a durable result. Replacement doors or new cabinetry may be more reliable when the film is failing throughout the kitchen.
How many coats of paint do kitchen cabinets need?
Many systems use one compatible primer coat followed by two thin finish coats, but the exact system depends on the substrate, existing color, selected products, and manufacturer instructions.
How long should cabinet paint cure?
Follow the specific coating manufacturer’s instructions. Cabinets may be dry enough for careful handling within days while continuing to gain hardness for several weeks. Some cabinet coatings require approximately 30 days for full cure.
Is painting cabinets cheaper than replacing them?
It can be when the existing cabinets are structurally sound and the work is completed efficiently. If the boxes, doors, drawers, hardware, or layout also need correction, replacement may provide better long-term value.
Paint Them—or Start Fresh?
Before spending weeks preparing old cabinets, compare their condition and layout with the cost and performance of new cabinetry. MDI Luxury Cabinetry can help you evaluate cabinet collections, construction, storage, and design options.
This article summarizes general cabinet-painting practices and links to independently published guidance from Martha Stewart, Benjamin Moore, and Sherwin-Williams. MDI Luxury Cabinetry is not affiliated with or endorsed by Martha Stewart or Martha Stewart Living. Always follow the technical instructions and safety requirements for the exact cleaner, primer, paint, substrate, and application method being used.